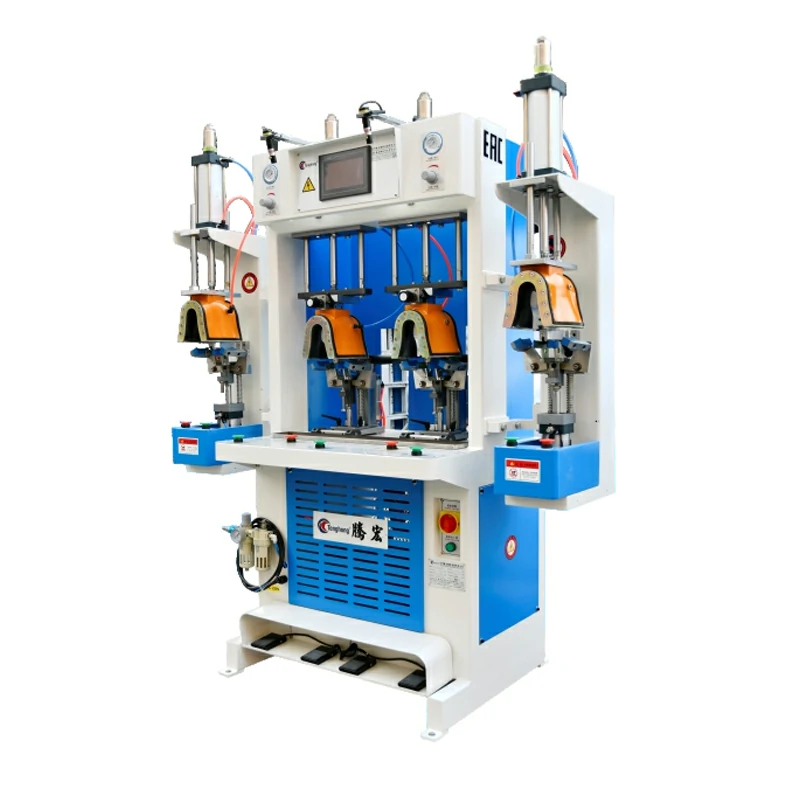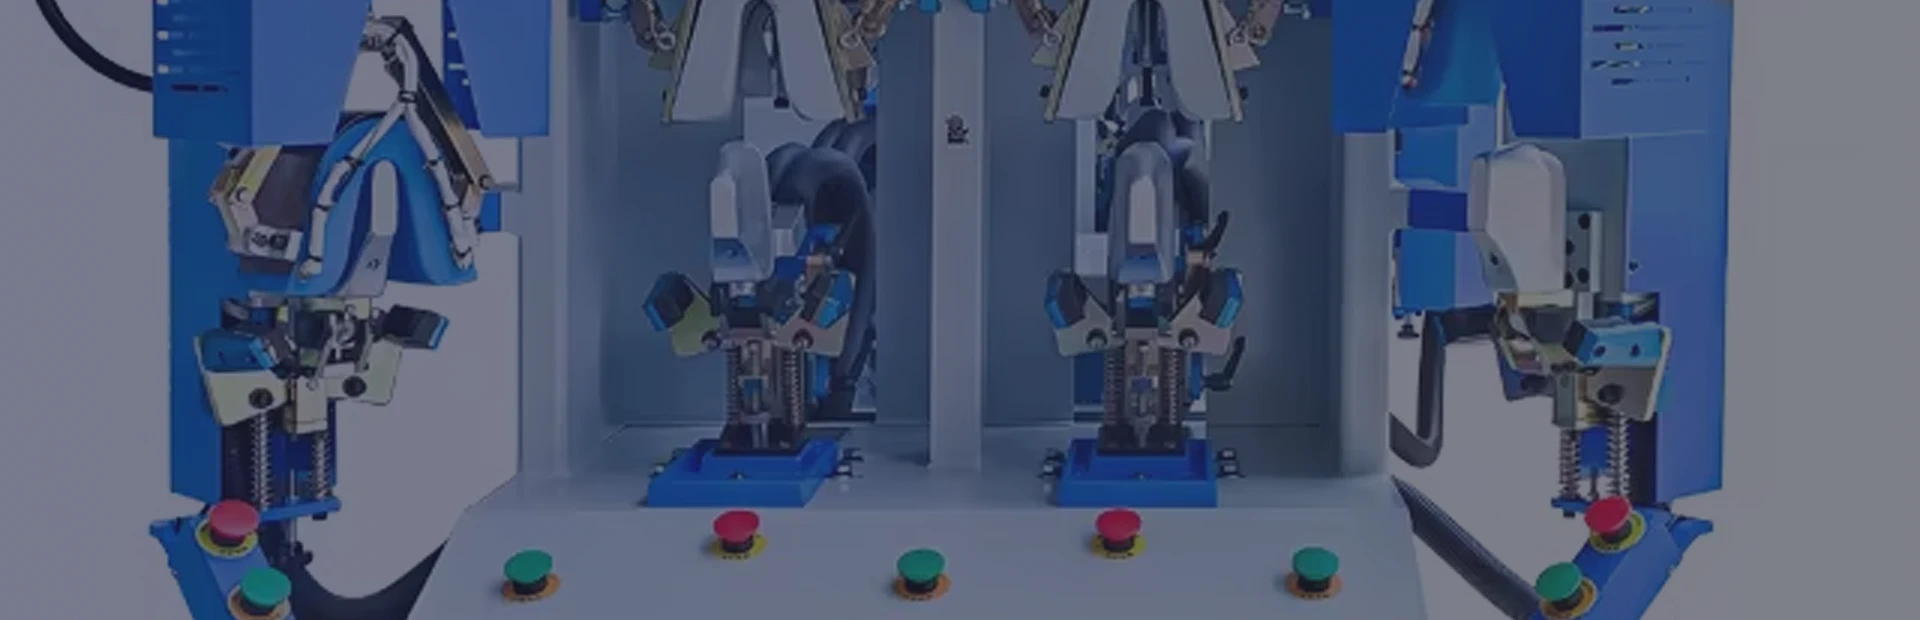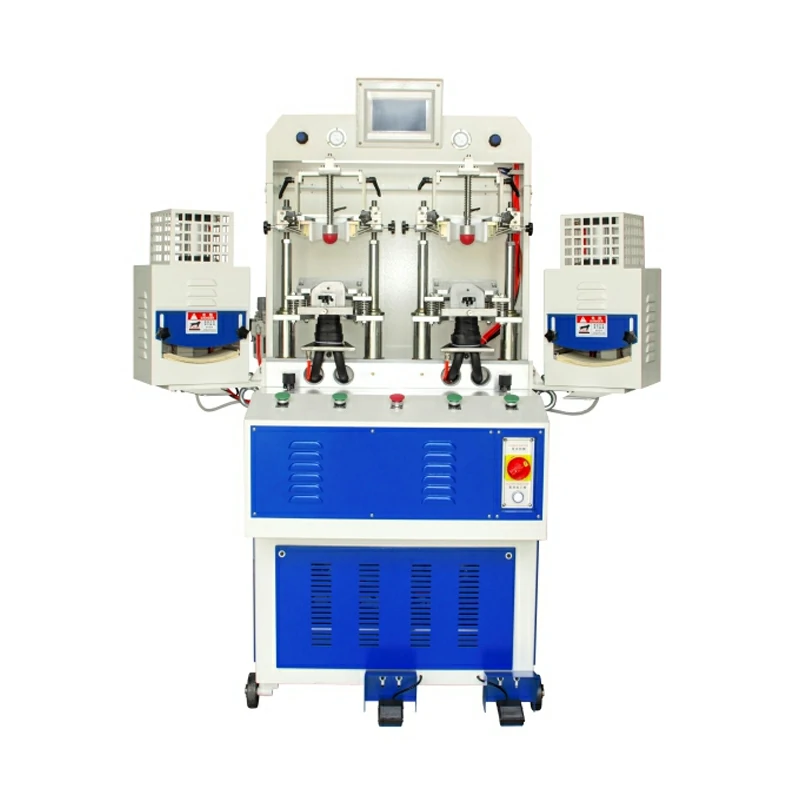
The shoe manufacturing process is the sequence of operations that turns flat sheet materials into a finished pair of shoes: cutting the upper and components, stitching those pieces into a shaped upper, lasting the upper over a last to form the shoe, and sole attaching the outsole before finishing. Each stage depends on the one before it, and the right machine at each step is what keeps the shoe consistent, comfortable, and capable of scaling from a sample run to full production.
What the Shoe Manufacturing Process Includes
A complete footwear production line is usually described as a set of stages rather than one continuous action. The core stages are:
- Cutting (clicking) – separating the upper, lining, and reinforcement pieces from rolled or sheet material.
- Skiving and preparation – thinning edges and conditioning parts for clean seams.
- Stitching (sewing) – joining the upper pieces into a three-dimensional shape.
- Lasting – pulling the upper onto a last and securing the toe, heel, and sides.
- Sole attaching and pressing – bonding or molding the outsole to the lasted upper.
- Moulding, roughing, and polishing – shaping, surface preparation, and finishing.
The table below maps each stage to what it achieves and the type of equipment that drives it.
| Stage | What happens | Primary equipment |
|---|---|---|
| Cutting | Upper, lining, and reinforcement parts are cut to pattern | Hydraulic, swing-arm, and traveling-head cutting machines |
| Stitching | Pieces are sewn into a shaped upper | Post-bed and roller sewing machines |
| Lasting | Upper is formed and fixed on the last | Toe, heel-seat, and side lasting machines |
| Sole attaching | Outsole is bonded or pressed to the shoe | Sole attaching and pressing machines |
| Finishing | Shape, surface, and appearance are completed | Moulding, roughing, and polishing equipment |
Stage 1: Cutting the Upper and Components
Cutting, often called clicking, is where material yield and accuracy are decided. A panel that is cut wrong cannot be recovered later in the process, so this stage sets the ceiling for both cost and quality. Even small deviations in a panel propagate through stitching and lasting, which is why cutting is treated as a precision operation rather than a simple separation step.
Cutting methods and machines
Shoe factories typically use hydraulic cutting machines that press a steel die through the material. Swing-arm, traveling-head, and plane (beam) models cover different volumes and panel sizes. The right choice depends on material stiffness, the number of layers cut at once, and how frequently the die changes between styles. Nesting – arranging patterns to maximize yield – is as important as the machine itself for controlling material cost on leather and synthetics alike.
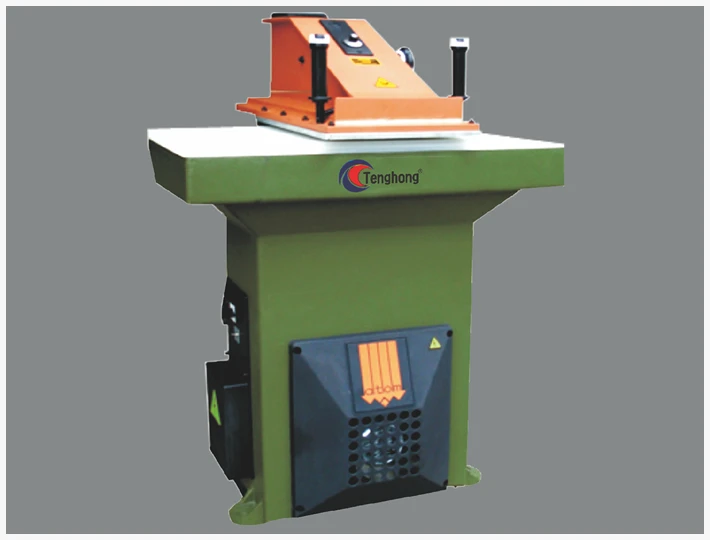
For a buyer, the practical questions at this stage are die-change time, cutting-force consistency across the bed, and how cleanly the machine handles multi-layer leather or synthetic stacks without edge burrs. Force that varies across the bed produces panels of slightly different size, which then creates alignment problems at stitching.
Stage 2: Stitching and Skiving the Upper
Once pieces are cut, the upper is assembled by sewing. Stitching is where the shoe’s structure and appearance take shape, and it is also where small errors become visible defects that are expensive to correct after lasting.
Why stitching quality drives the whole shoe
A shoe stitching machine for footwear is usually a post-bed or roller-feed sewing machine built to handle curved seams, multiple material thicknesses, and reinforced threads. Skiving machines thin the edges before sewing so seams lie flat and the lasting stage has less bulk to pull over the last. Thread tension, needle type, and feed consistency matter more than raw speed: a line that stitches evenly on the first pass reduces rework at lasting and improves the final surface.
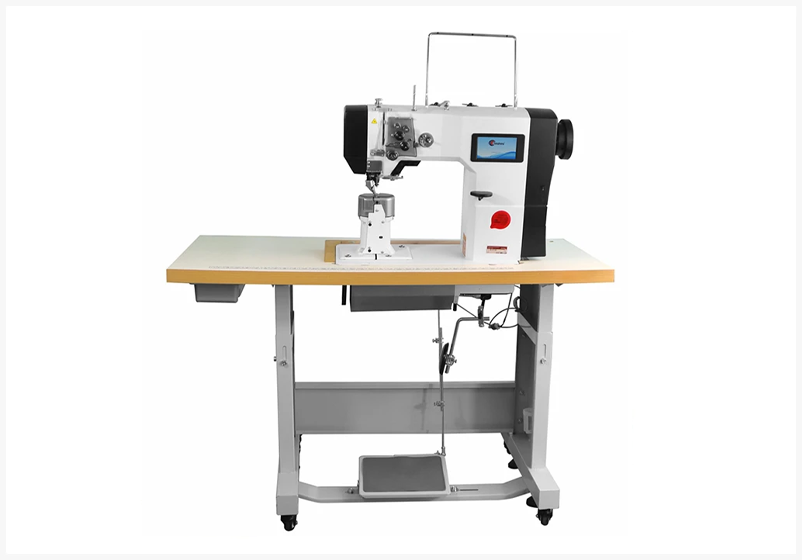
Different shoe types place different loads on stitching. A safety shoe needs reinforced seams at stress points, while a dress shoe needs fine, even topstitching for appearance. The sewing setup should be adjustable enough to serve the range without constant rethreading and re-tuning.
Stage 3: Lasting — Forming the Shoe on the Last
Lasting is the stage that actually makes a flat upper become a shoe. The upper is pulled over a last – the foot-shaped form – and secured so it holds the correct shape. It is the step where fit, symmetry, and surface quality are established.
Toe lasting, heel-seat lasting, and side lasting
Most lines split lasting into toe, heel-seat, and side operations. A toe lasting machine forms the front of the shoe, while a heel-seat lasting machine closes the rear. Side and heel-seat units handle the curves where wrinkles and folds are most likely to form if tension is uneven. Getting lasting right is what separates a shoe that looks engineered from one that looks hand-pulled.
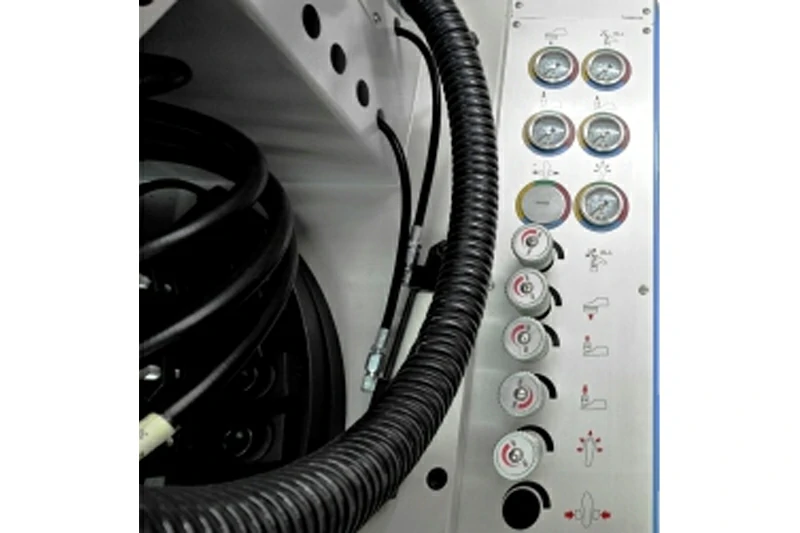
Lasting quality is one of the biggest drivers of how the finished shoe looks and fits. Clamping and pincer tension, upper preparation, and last alignment all interact here, which is why this stage is where most process-control effort is spent. A per-style setup sheet – recording clamp pressure, pincer sequence, and wiper settings – keeps results repeatable across operators and shifts.
Stage 4: Sole Attaching and Pressing
With the upper lasted, the outsole is joined to the shoe. This can be done by cementing and pressing, or by molding processes such as encapsulation, depending on the shoe type and the bond the design requires.
Cementing, pressing, and encapsulation
A sole attaching pressing machine applies controlled pressure and, where used, heat to bond the sole to the upper. Consistent pressure across the sole prevents gaps, uneven edges, and debonding in use. Roughening the bonding surface beforehand and controlling adhesive application are what make the bond reliable rather than occasional.
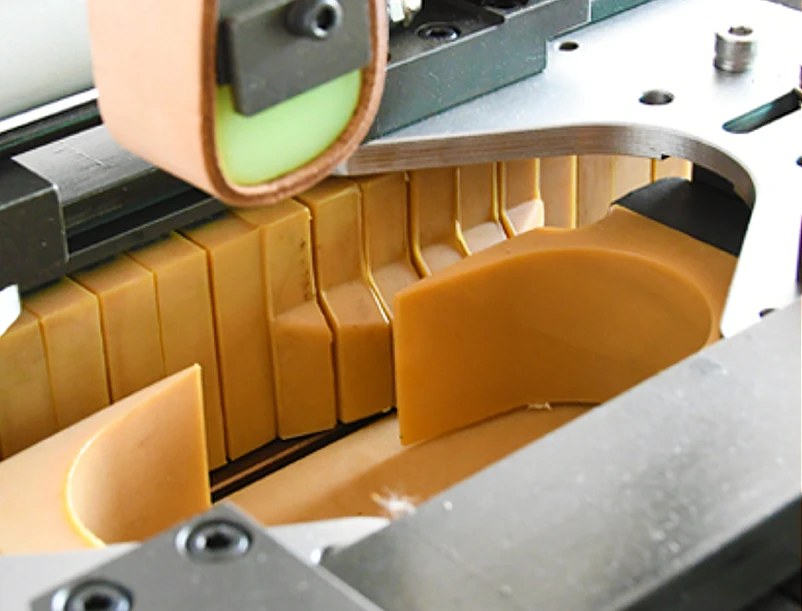
For the buyer, the key variables are pressure uniformity, repeatability between pairs, and how quickly the machine changes over between sole designs. A press that drifts across a run produces shoes that look correct on the line but fail at the toe spring or heel after wear.
The Supporting Stages: Moulding, Roughing, and Polishing
Between and after the main stages, several operations protect the result. A moulding machine shapes components such as counters and toe boxes so they hold the intended form, while roughing and polishing equipment prepares bonding surfaces and refines the finished appearance. These steps are easy to overlook but they decide whether the shoe holds its shape and looks finished at the point of sale.
How the Stages Connect
The process only works because each stage hands a clean result to the next. Cutting accuracy protects stitching; stitching quality protects lasting; lasting quality protects sole attaching. A defect introduced early is amplified later, which is why process control is distributed across the line rather than inspected only at the end.
| Hand-off | What must be right | Risk if it fails |
|---|---|---|
| Cutting → Stitching | Accurate panel shape and clean edges | Misaligned seams, puckered upper |
| Stitching → Lasting | Even seams, correct upper shape | Wrinkles and folds at lasting |
| Lasting → Sole attaching | Stable shape, clean bonding surface | Gaps or debonding at the sole |
Quality Control Checkpoints Across the Process
Rather than inspecting only the finished shoe, effective lines check at each stage:
- After cutting: panel dimensions and edge quality against the pattern.
- After stitching: seam straightness, tension, and stitch density.
- After lasting: surface smoothness, no wrinkles, correct toe and heel shape.
- After sole attaching: bond uniformity, no gaps, even outsole alignment.
Recording defects by stage and style lets a factory trace a problem to its source instead of reworking whole batches, and it builds the data needed to tune machine settings over time.
Choosing Equipment for Each Stage
When evaluating machines, match the equipment to the product range rather than buying one generic setting. The table below summarizes what to verify per stage.
| Stage | What to check | Why it matters |
|---|---|---|
| Cutting | Die-change time, force consistency, multi-layer handling | Material yield and panel accuracy |
| Stitching | Feed consistency, needle and thread range, curve handling | Seam quality and rework rate |
| Lasting | Pincer control, clamping adjustment, changeover speed | Surface quality and fit |
| Sole attaching | Pressure uniformity, repeatability, sole changeover | Bond strength and appearance |
For many buyers the fastest path is a complete TENGHONG shoe production line where the stages are selected to work together, or individual machines matched to an existing line.
Throughput, Labor, and Line Balancing
A process is only as fast as its slowest stage. If cutting outpaces stitching, work-in-progress piles up; if lasting is the bottleneck, finished uppers wait. Balancing station count and machine cycle time to the target hourly output is what keeps a line moving without overstaffing. Automated and computerized stations help most at the stages with the highest manual variation – typically stitching and lasting – while cutting and pressing benefit from fast changeover and consistent actuation.
Common Mistakes That Hurt Shoe Quality
- Skipping skiving before stitching, which creates bulky seams that resist lasting.
- One fixed lasting setting for every style instead of a per-style setup.
- Ignoring last wear and shape drift over time.
- Poor sole-surface preparation, leading to weak bonds.
- End-only inspection, which hides the stage where the defect was introduced.
Frequently Asked Questions
What are the main steps in the shoe manufacturing process?
The main steps are cutting the upper and components, stitching them into shape, lasting the upper over a last, and attaching the sole, followed by moulding, roughing, and polishing. Each step is supported by dedicated machinery and hands a cleaned result to the next.
What machine is used for cutting shoe uppers?
Shoe uppers are cut with hydraulic cutting machines – commonly swing-arm, traveling-head, or plane (beam) models – that press a steel die through the material. The right type depends on panel size, material, and production volume.
What is lasting in shoe manufacturing?
Lasting is the process of pulling the stitched upper over a last and securing the toe, heel, and sides so the shoe holds its shape. It is the stage that turns a flat upper into a wearable shoe and is critical for fit and appearance.
How is the sole attached to a shoe?
The sole is attached by cementing and pressing, or by molding processes such as encapsulation, using a sole attaching and pressing machine that applies controlled, uniform pressure to bond the outsole to the lasted upper.
Which equipment do I need for a complete shoe production line?
A complete line pairs cutting machines, sewing machines, toe and heel-seat lasting machines, and sole attaching pressing machines, plus moulding, roughing, and polishing equipment. The exact mix depends on the shoe type and volume you produce.
How do I choose shoe manufacturing machines for my factory?
Match each machine to your product range and verify stage-specific factors: cutting force consistency, stitch feed quality, lasting pincer control, and sole-press uniformity. A supplier can help configure a line once you share your materials, shoe types, and output targets.
Conclusion
The shoe manufacturing process is a chain of dependent stages – cutting, stitching, lasting, and sole attaching – where quality at one step protects the next. Choosing equipment that is adjustable and consistent at each stage is what lets a factory move from samples to stable production. If you are planning, upgrading, or balancing a line, contact TENGHONG to review your materials, shoe types, and output targets and match the right machines to your process.